
Getting Started · 1 min read
Quick start: Run Your First Fund-a-Need (FAN)
The 10-minute path from a brand-new event to a live tally on the night.
This is the whole workflow end to end. Every step has its own detailed guide if you want to go deeper.
- 1
Create the event
From the admin home screen, choose New event. Give it the organization name, the event name, and the date. You can change any of it later.
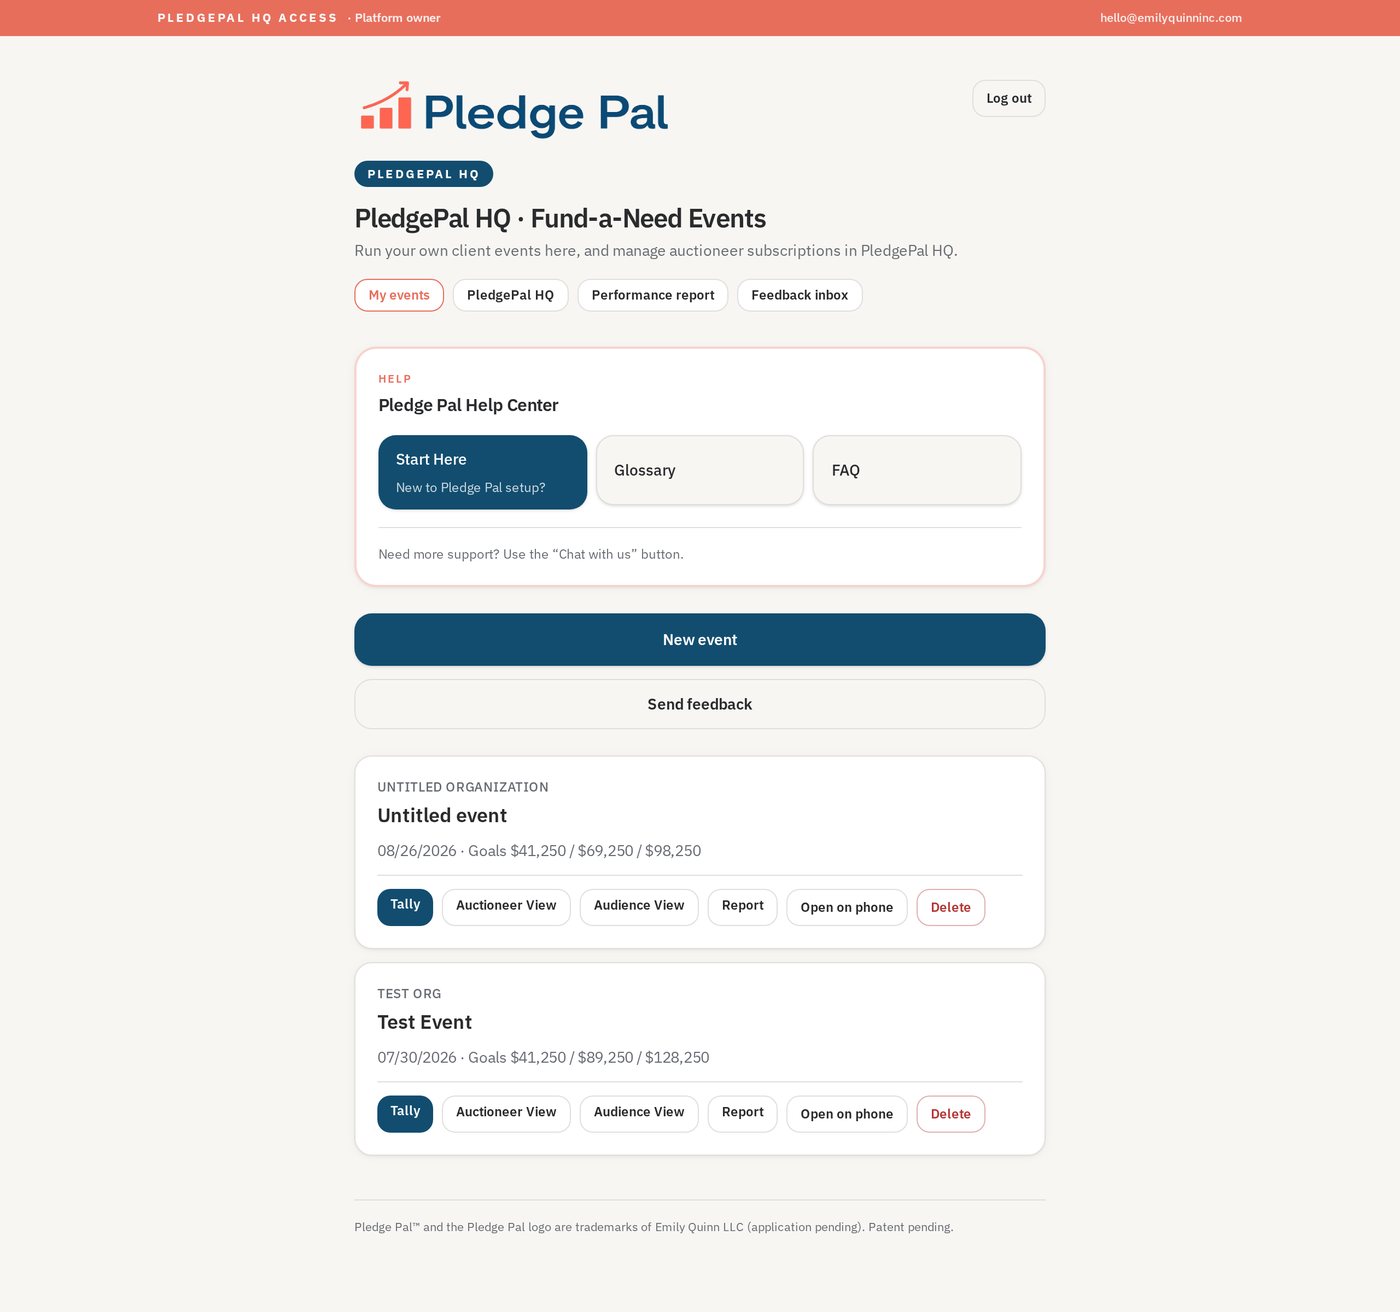
Admin home with the New event button highlighted - 2
Add your Fund-a-Need levels
Enter each giving level (for example $10,000, $5,000, $2,500) with the Basic, Stretch and Dream counts you're aiming for. Overall goals total up automatically underneath.
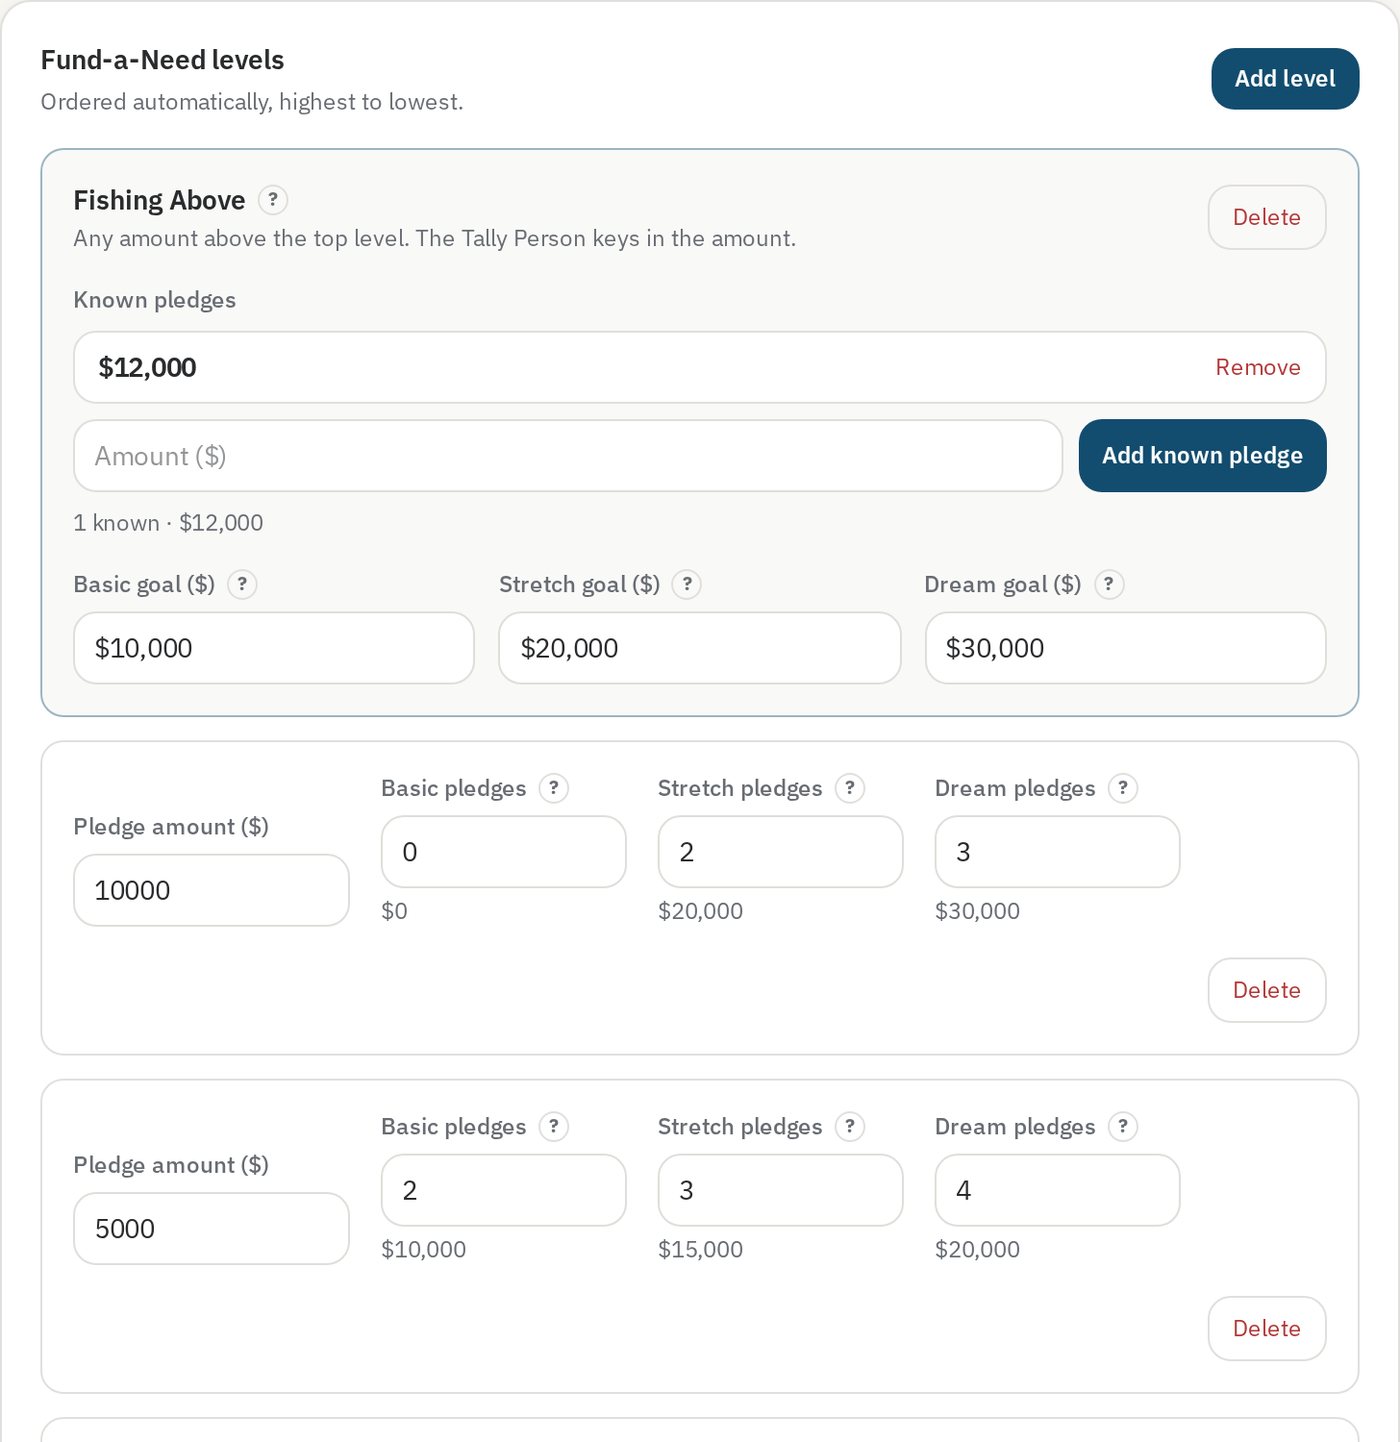
Event Setup showing FAN levels and the auto-totalled Overall FAN goals - 3
Brand it
Upload the organization's logo, optionally a frame, and set the colors. This is what the room sees on the Audience View.
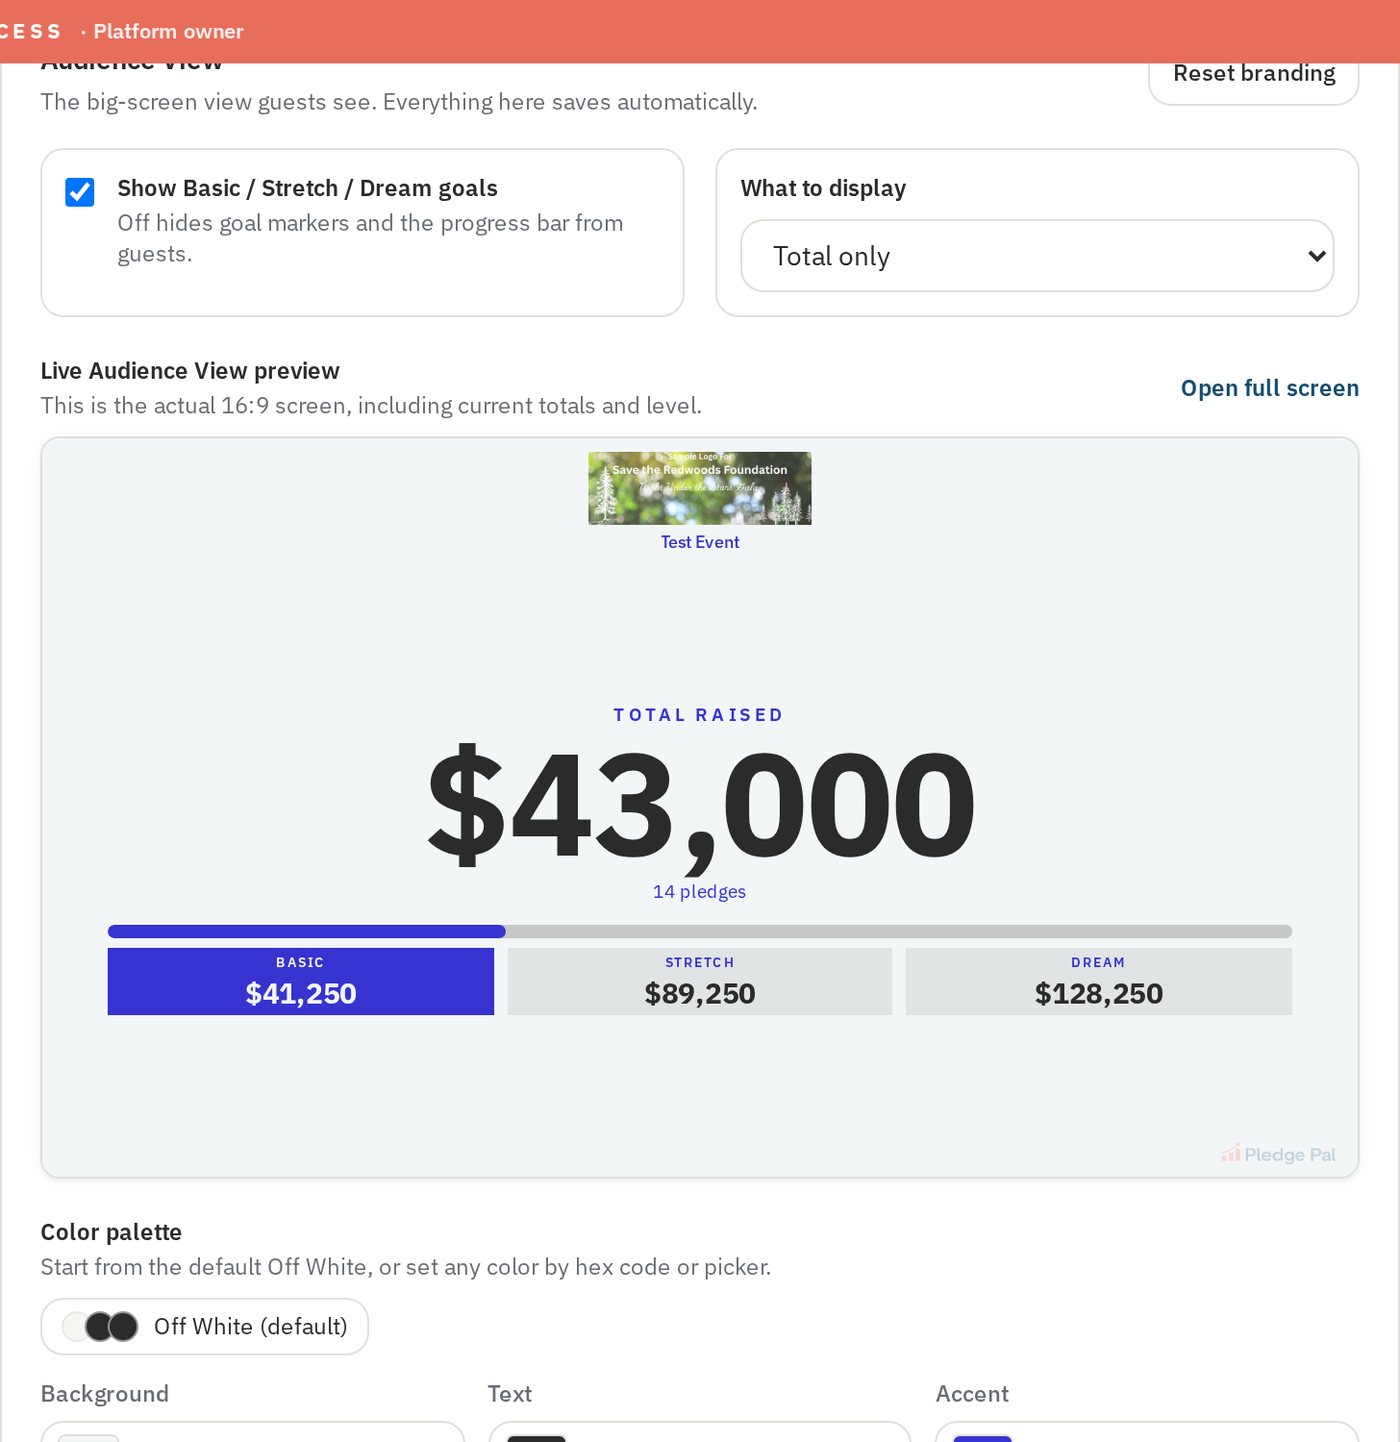
Branding panel with a logo uploaded - 4
Open the three views
Tally goes on the phone of whoever is spotting. Auctioneer View goes on the auctioneer's laptop or tablet. Audience View goes to the ballroom screen.
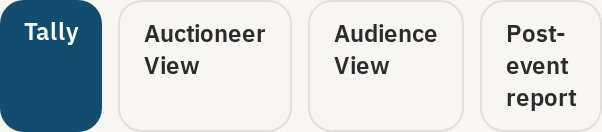
Event Setup header showing the Tally, Auctioneer View and Audience View buttons - 5
Do a dry run, then clear
Tap a few test pledges and confirm every screen updates. When you're happy, use Clear results in the Danger zone on Event Setup so you start the night at zero.
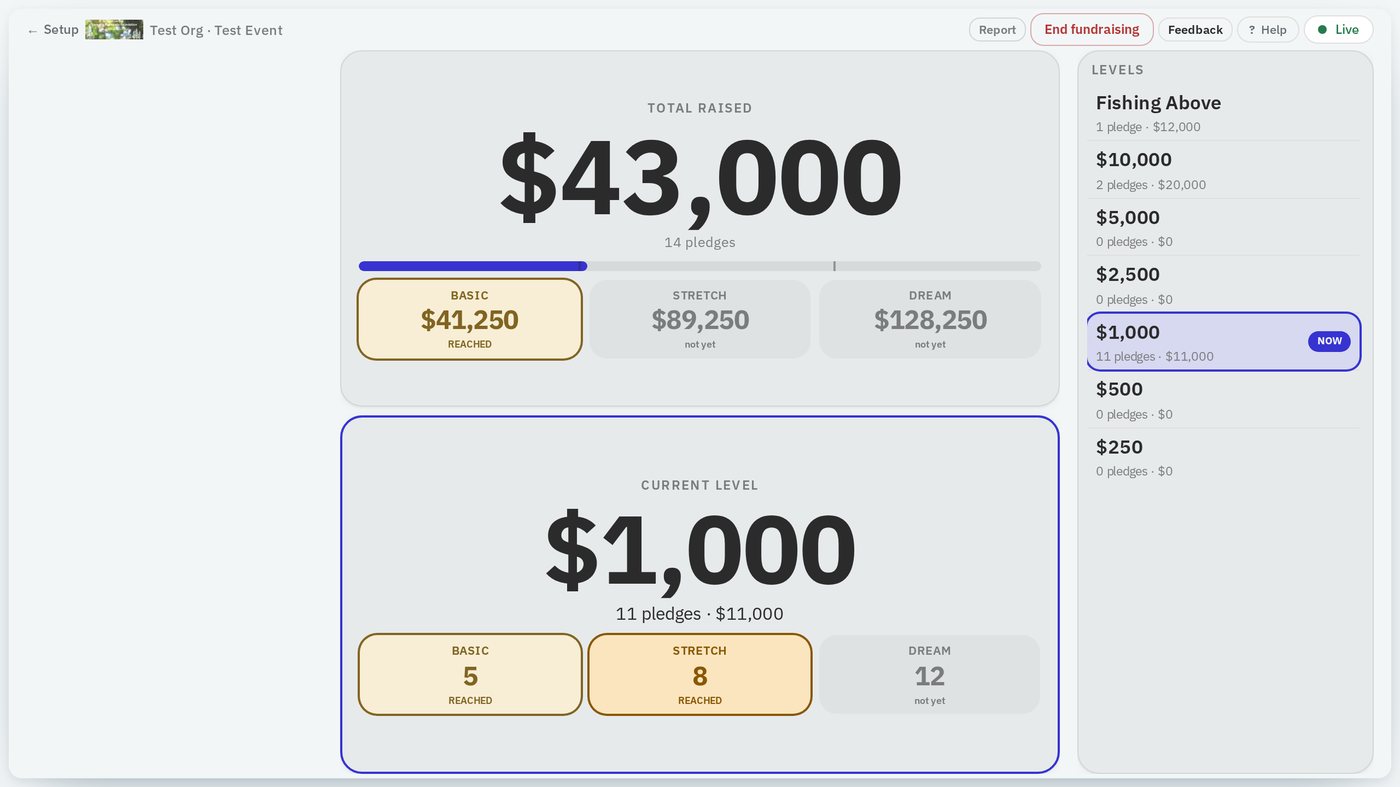
Auctioneer View during a dry run - 6
What the room sees
The Audience View fills the ballroom screen with the logo centered at the top, the running total, and the goal markers.
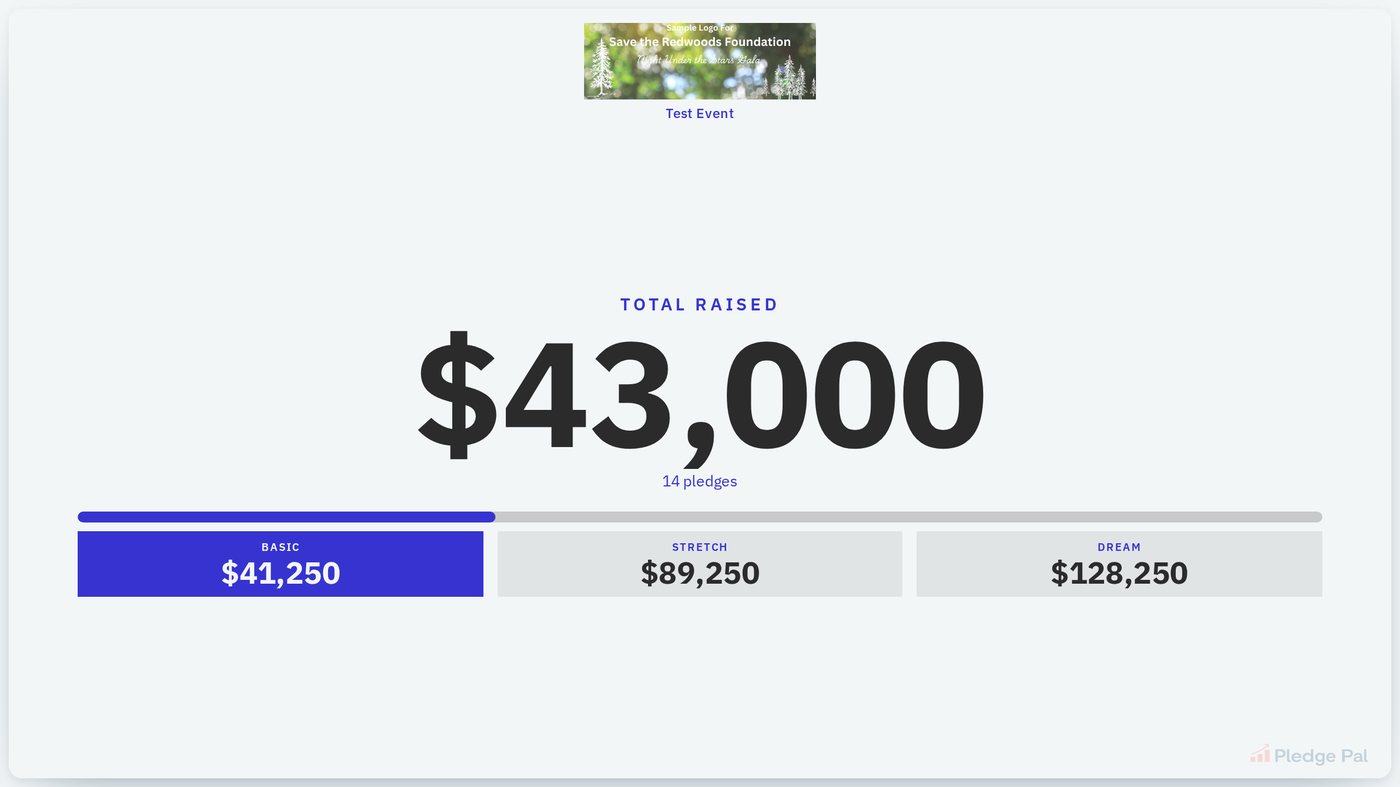
Audience View on the ballroom screen
Good to know
- Do the dry run on the actual venue wifi if you can.
- Bring a charging cable for the tally phone — the screen stays awake.