
Getting Started · 3 min read
Set up an event and share it with your client
Create the event, build the ladder, open the three views, and give the nonprofit their own login.
The full path an auctioneer takes for a client event — from a blank event to handing over the post-event report. Your client only ever sees the event you invite them to.
- 1
Create the event
From your events list, choose New event and enter the organization name, the event name, and the date. Everything stays editable. For a first run, create a practice event instead — practice events don't use up a paid event slot and can be cleared and re-run as often as you like.
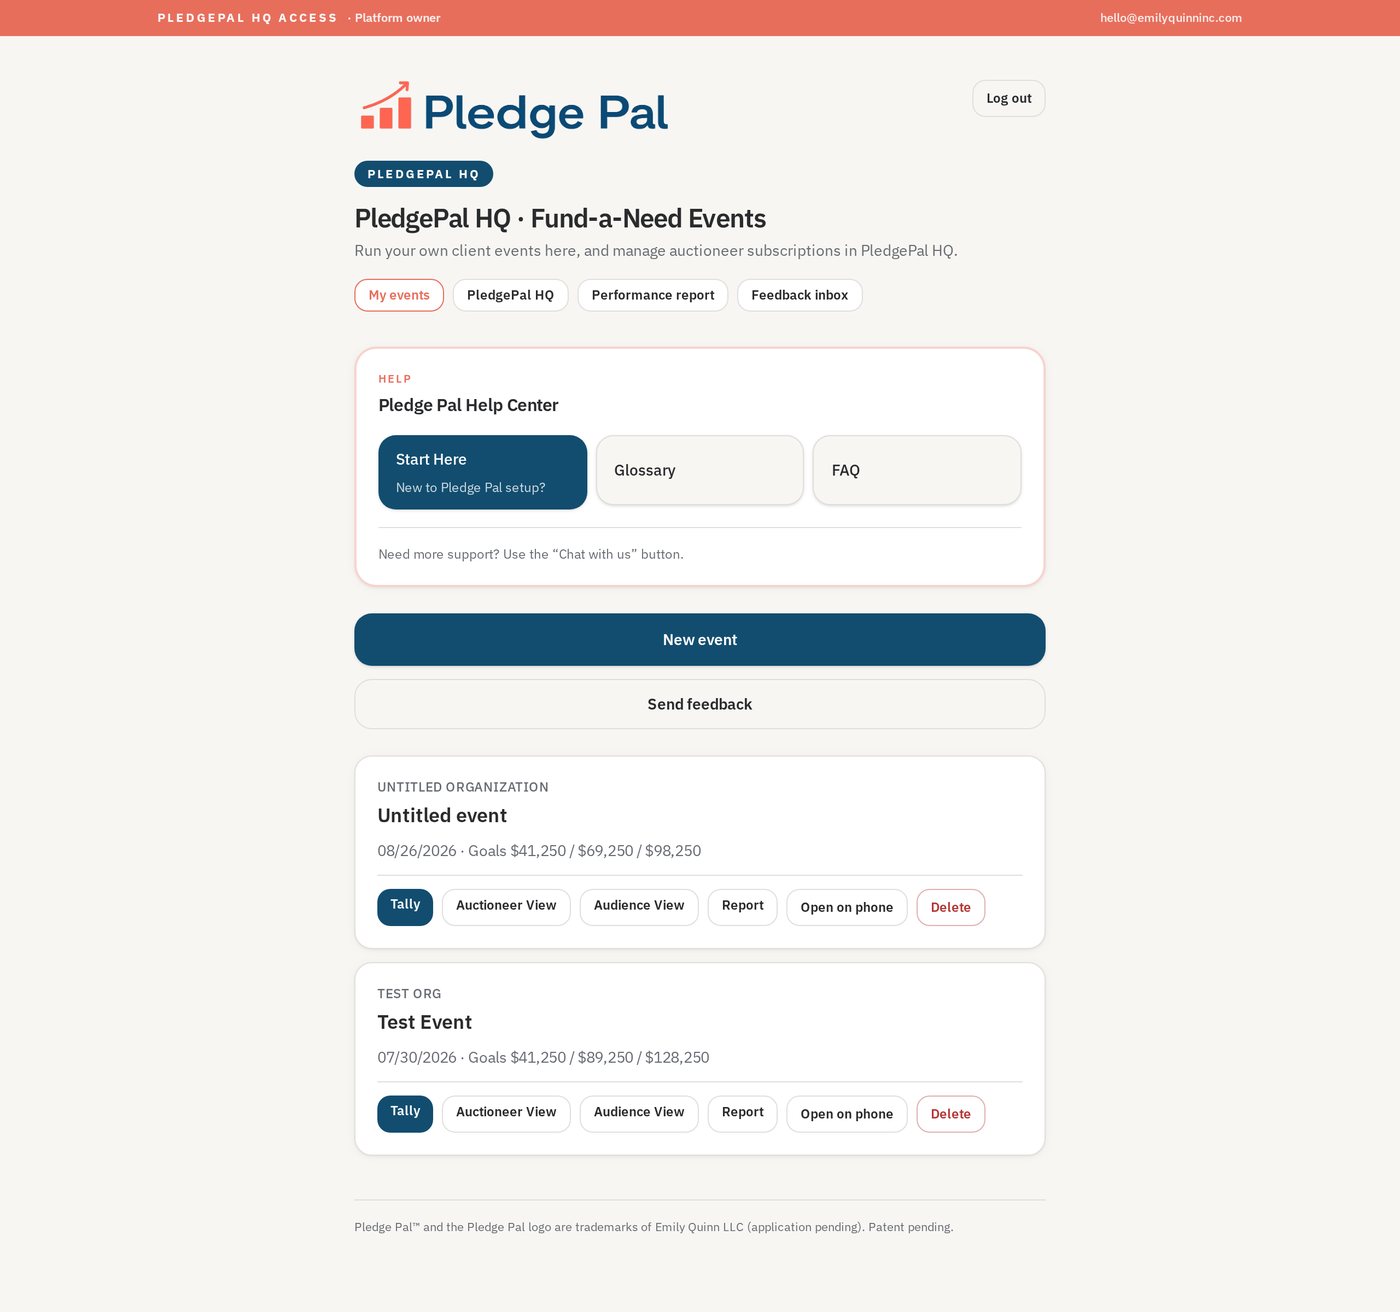
Events list with the New event button - 2
Build the Fund-a-Need ladder
Add your giving levels highest to lowest — $25,000, $10,000, $5,000 and down. That order is what lets you fish above: start high, then walk down. Enter the Basic, Stretch and Dream counts for each level and the Overall Fund-a-Need goals total up automatically. Keep Basic below Stretch, and Stretch below Dream.
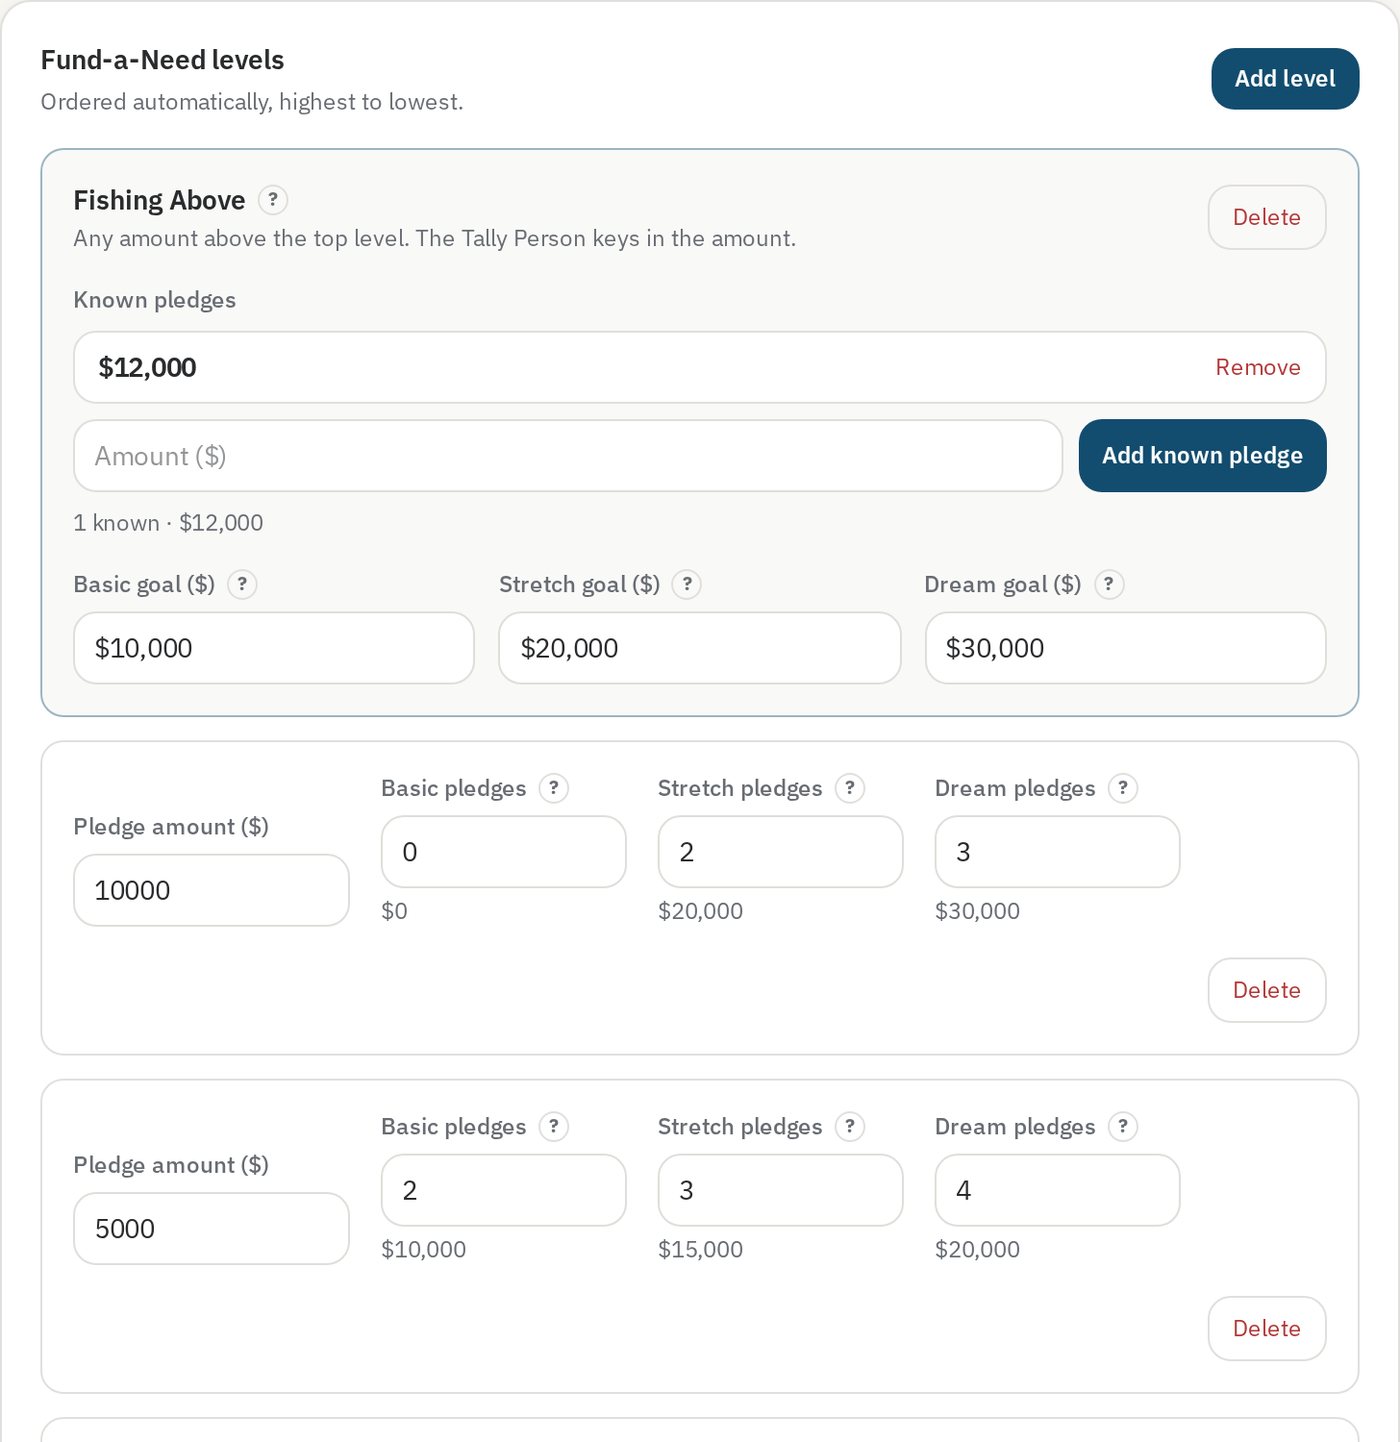
Event Setup showing FAN levels with auto-totalled overall goals - 3
Add a matching challenge (optional)
Switch on Matching challenge, enter the amount the donor is matching, then choose the scope — the whole Fund-a-Need, one level, or a level and everything below it — and whether it shows as its own panel, folds into the big total, or both. You also control whether the Auctioneer and Audience screens show it at all. Confirm the scope matches what the donor actually agreed to.

Matching challenge panel with scope and display options - 4
Brand it for the organization
Upload the nonprofit's logo, optionally a frame, and set the background, text and accent colors. The preview under the Audience View heading shows exactly what the room will see. Reset branding puts everything back to default.
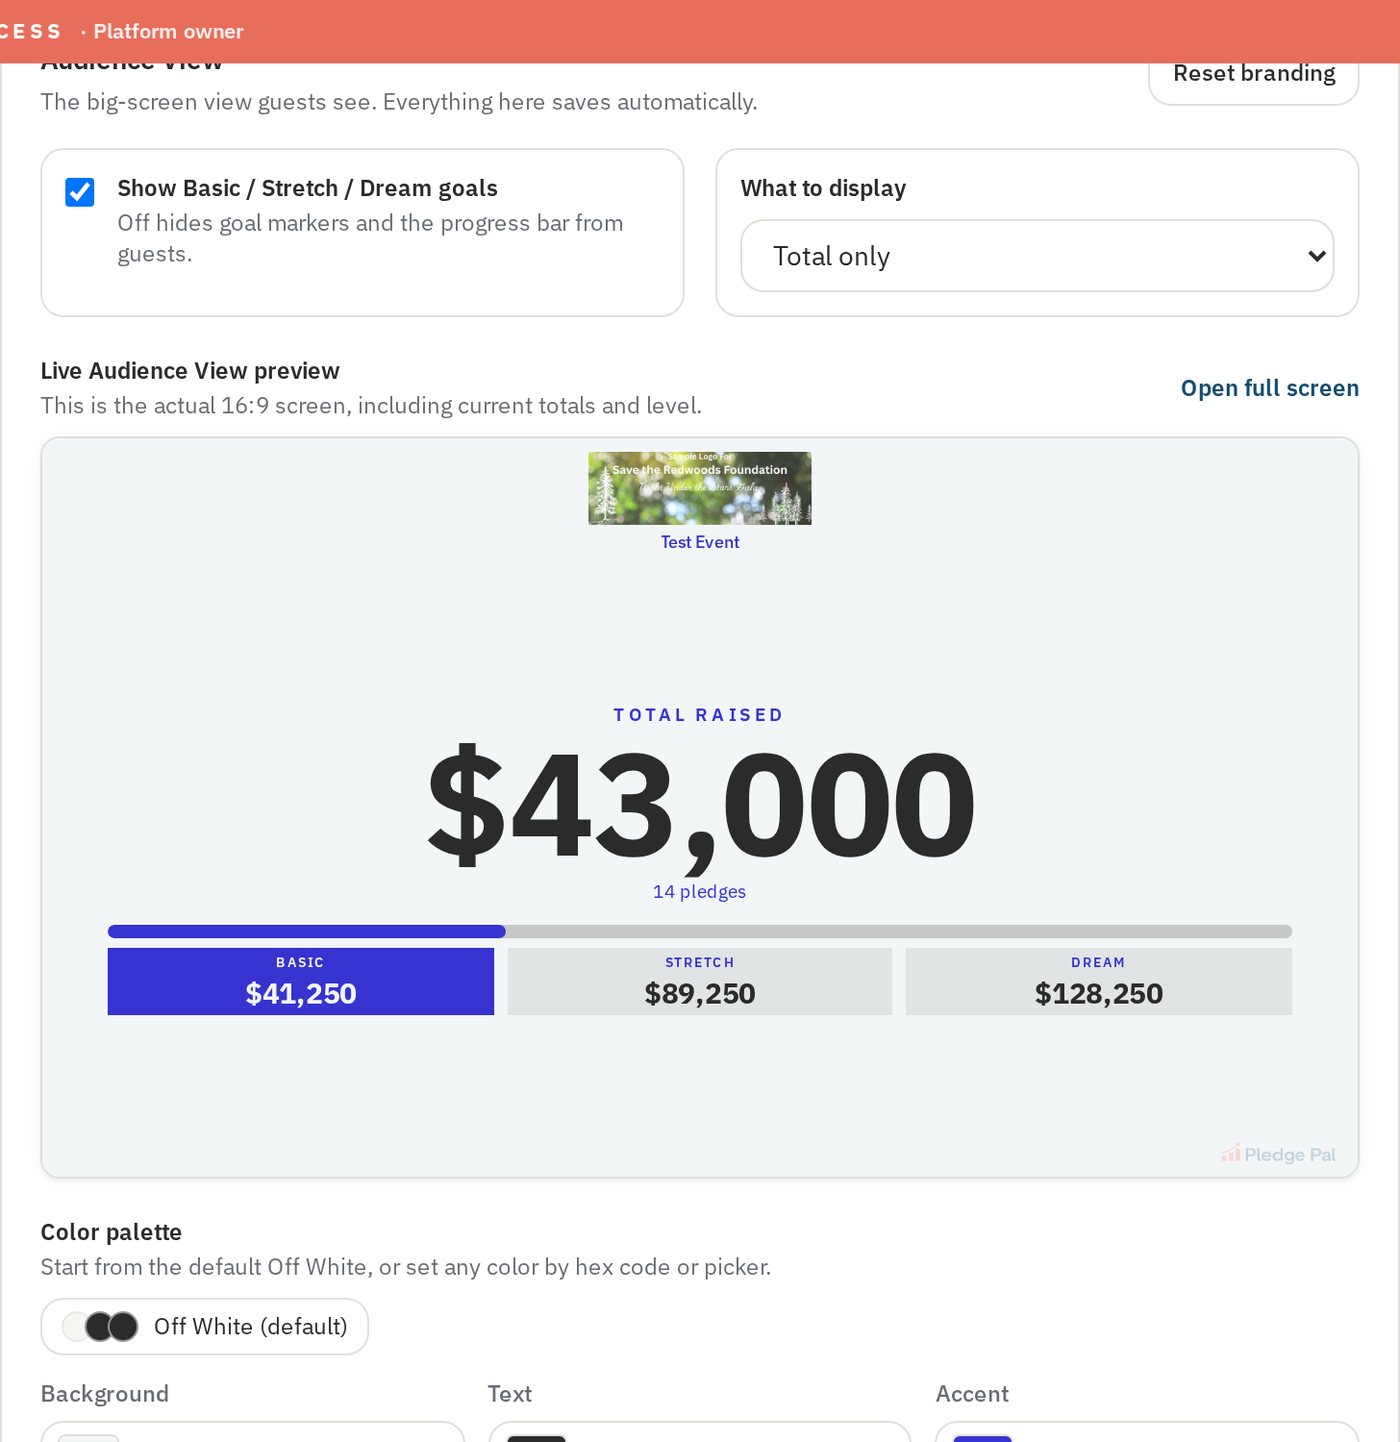
Branding panel with logo and palette - 5
Open the three views
Tally goes on the phone of your Tally Person — one big amount button, Last and Next level, and a Goals toggle to show or hide totals. Auctioneer View goes on your laptop or tablet with live totals and progress. Audience View drives the ballroom screen. The tally phone needs no account: scan the QR code and it connects to this event only.
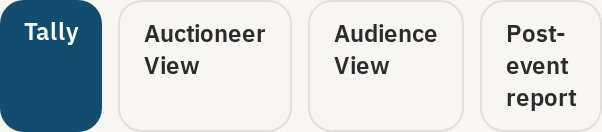
Event Setup header with the Tally, Auctioneer View and Audience View buttons - 6
The tally phone
Your Tally Person taps the amount and Add pledge for every raised paddle. Last level and Next level walk the ladder, and Switch event / disconnect this phone frees the phone at the end of the night.
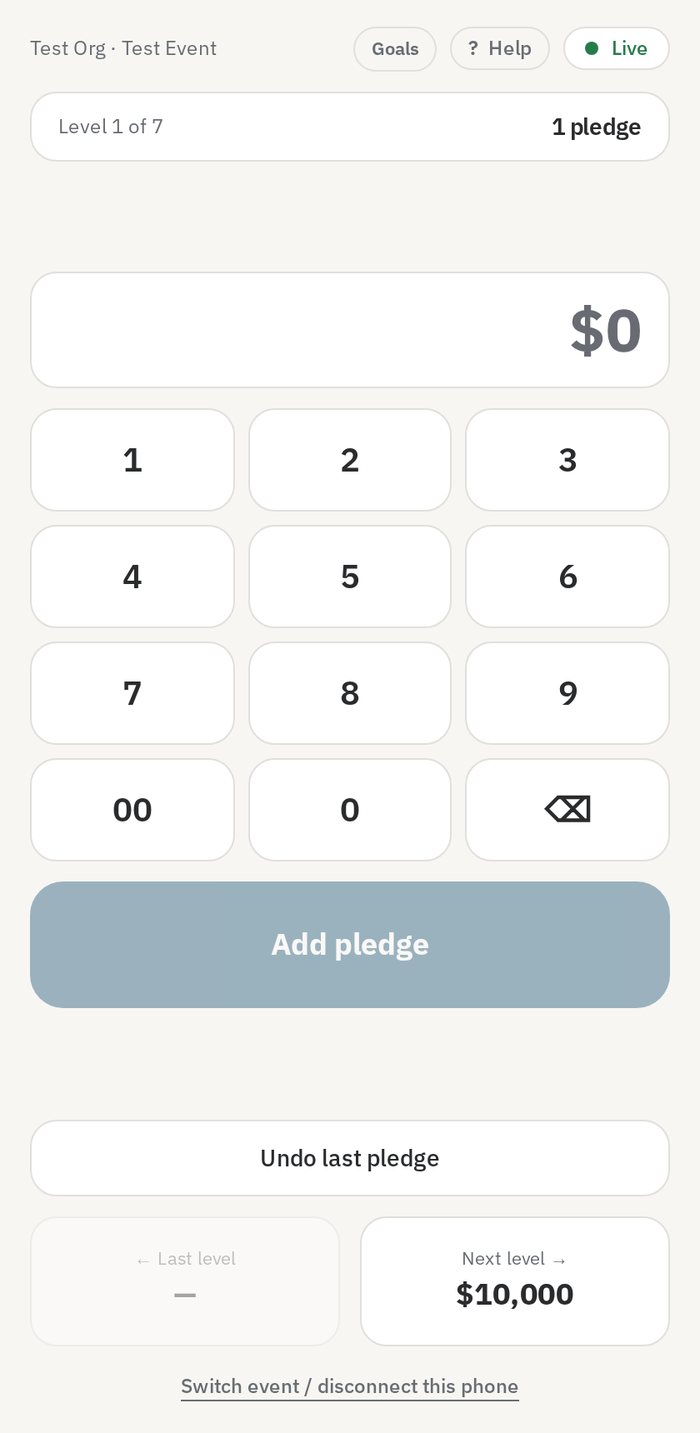
Tally screen on a phone - 7
Give your client their own login
In the Client access panel, enter the nonprofit contact's email and send the invitation. They sign in and see only this event — never your other events, your other clients, your billing, or admin-only settings. They can watch the live views and download the post-event report.
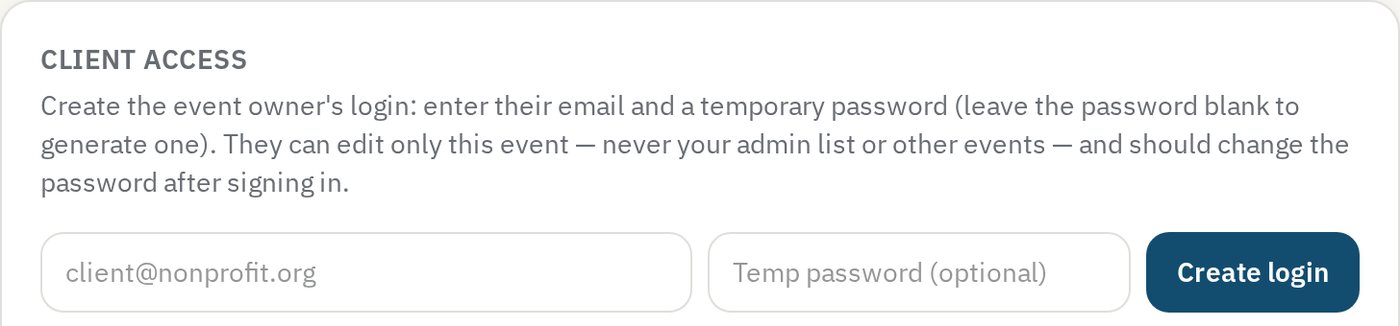
Client access panel with an invitation being sent - 8
Dry run, then clear
On the venue wifi, tap two or three test pledges and confirm every screen updates. Then use Clear results in the Danger zone on Event Setup so the night starts at zero. Plug in the tally phone — its screen stays awake and will drain.
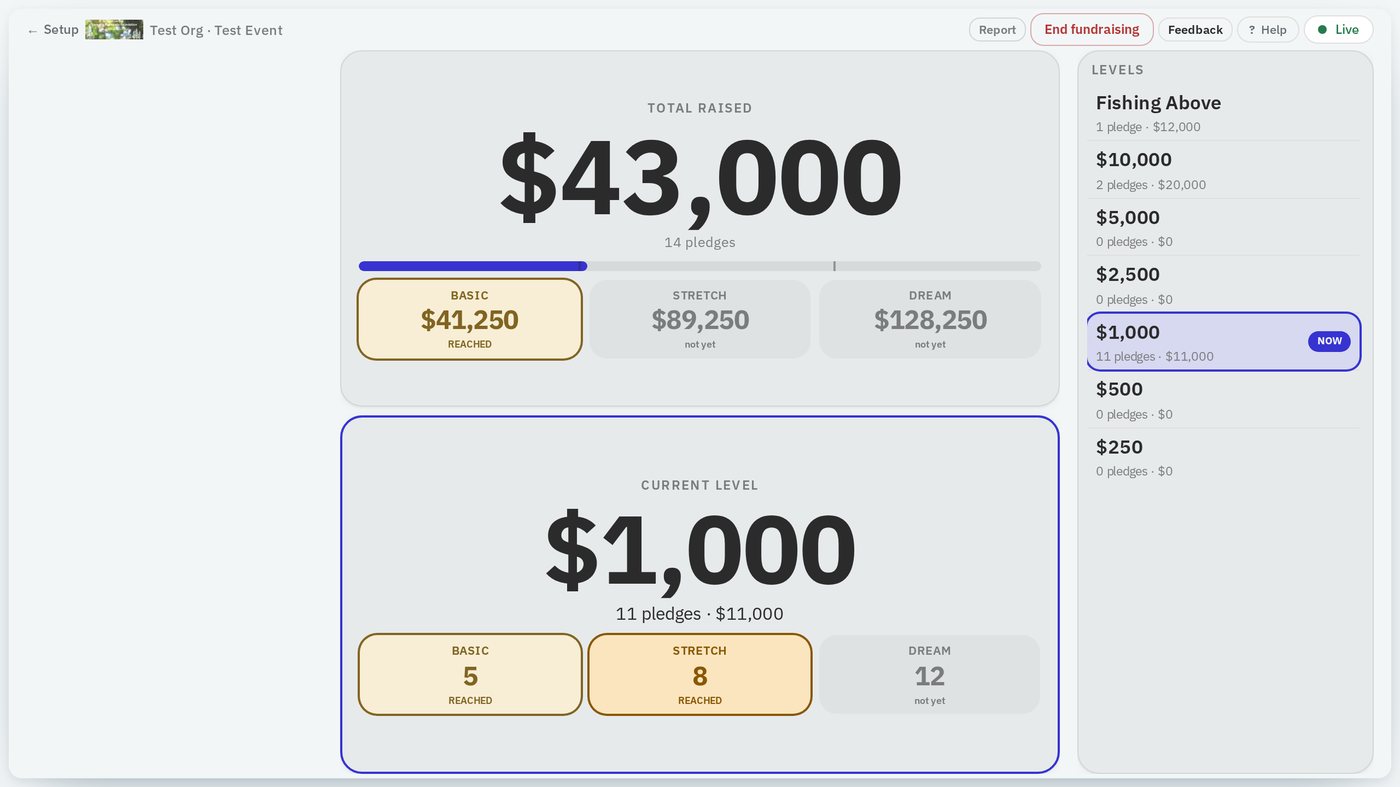
Auctioneer View during a dry run - 9
Send the post-event report
After the appeal, open the event and enter Guests in the room — the actual headcount — plus any notes for the client. Then download the post-event report and send it over: totals, goal attainment, level-by-level results, matching outcome, and raised per guest.
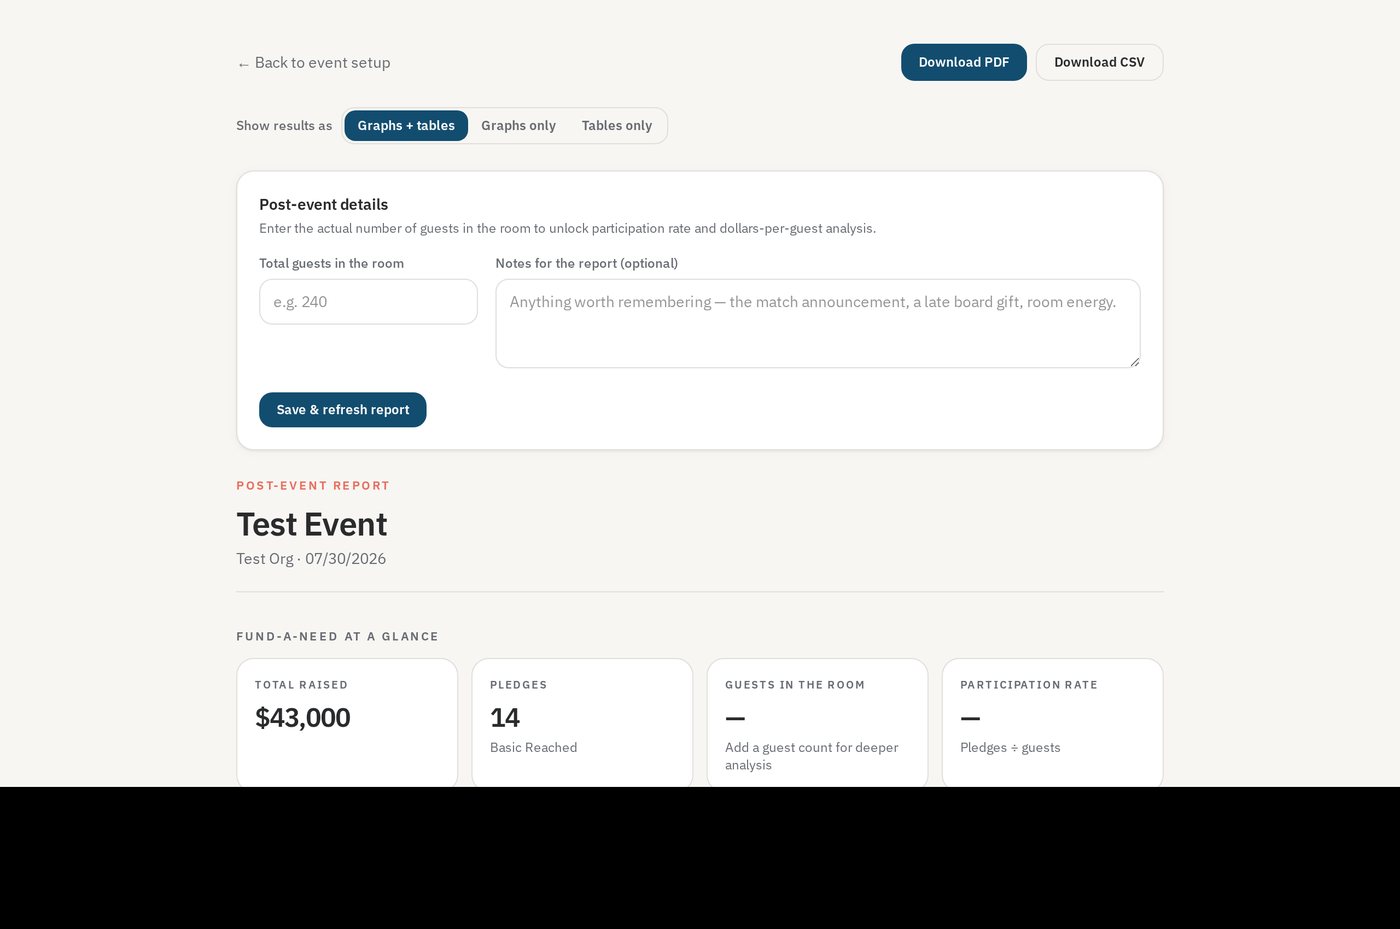
Post-event report with guests in the room filled in
Good to know
- If the wifi drops mid-appeal, keep tapping. Pledges queue on the phone and send the moment the connection returns.
- Getting the report to your client within 24 hours is the easiest way to get rebooked.
- Clients never see donor names — PledgePal counts pledges, not people.